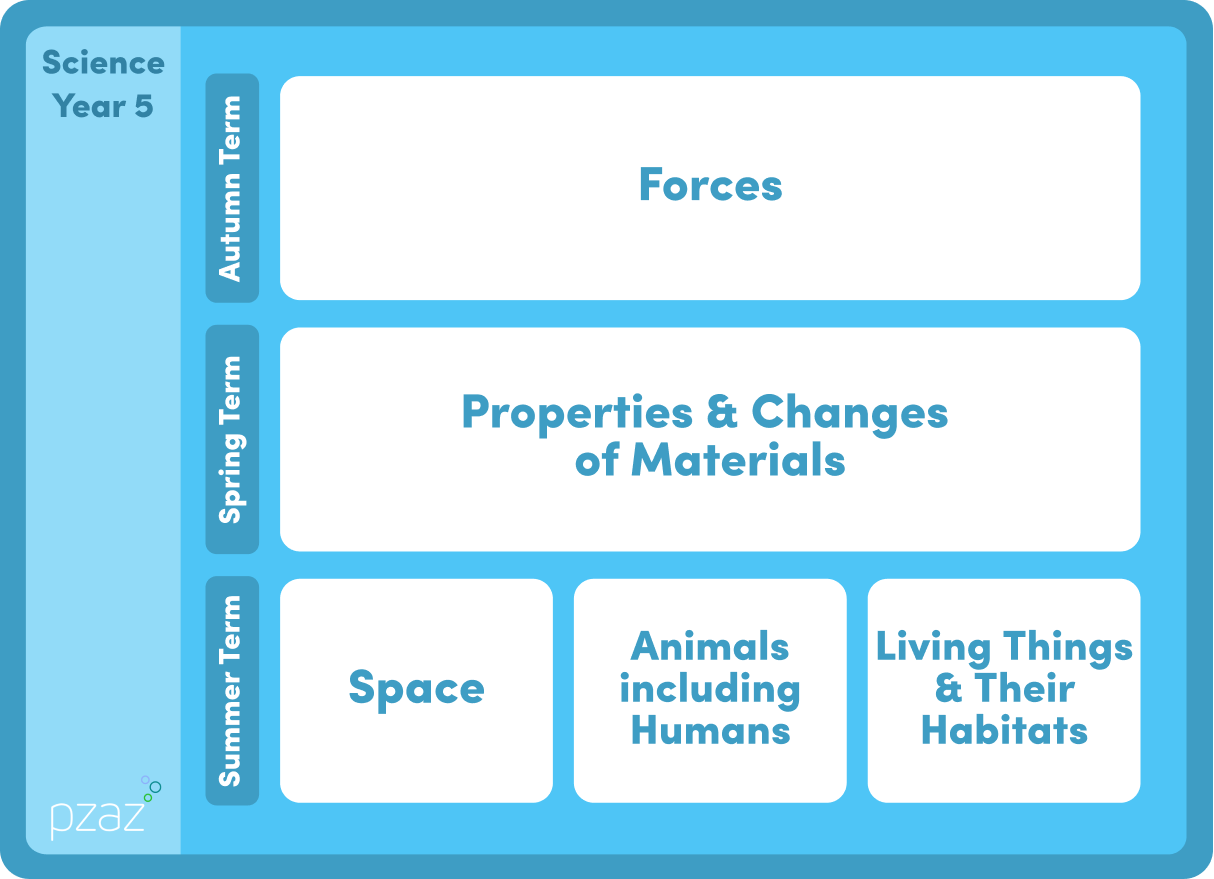
Properties and Changes of Materials
Science Unit Description
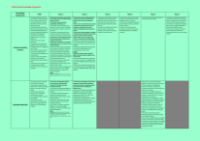
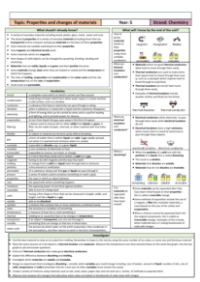
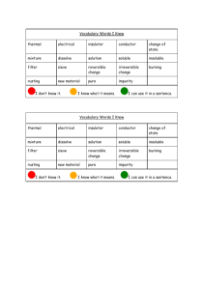

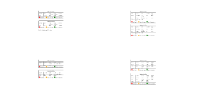
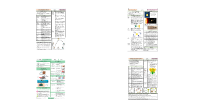
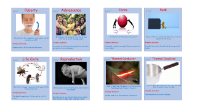
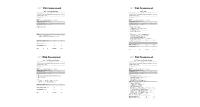
This lesson teaches pupils about the fire triangle and the importance of understanding the three elements that are needed to produce fire: heat, fuel, and oxygen. They will be introduced to the concept of combustion and how it leads to the formation of new materials. The pupils will then participate in a series of hands-on activities to reinforce their understanding of the fire triangle, including a report on the history of combustion and graphs of their experimental results.
Previous Learning
Prior to this lesson, pupils should have an understanding of the states of matter and have identified and named various everyday materials. In Year 4, they learned about the states of matter and observed how some materials change state when heated or cooled.
Keywords
- Fire
- Burning
- Combustion
- Oxygen
- Carbon dioxide
- Fuel
- Mass
Influential Scientists
- Antoine Lavoisier
- Marianne Lavoisier
- Henry Cavendish
- Joseph Priestley
- Carl Scheele
Activities
The Fire Triangle
Pupils will work in groups of two to produce a report on the three elements of the fire triangle. They will also draw the triangle as part of their report.
Fire Needs Oxygen (WS)
Pupils will work in groups of four to investigate the relationship between the size of a glass and the time a tealight can remain lit. They will record the results of their experiment in a table and observe the impact of the availability of oxygen on the combustion process.
What Happens to the Mass of the Candle When Lit? (WS)
Pupils will work in groups of four to measure the mass of a tealight before and after it has been lit. They will observe the impact of combustion on the mass of the candle and record their results in a table.
Science Explained
The lesson explains the process of combustion, including the role of fuel, heat, and oxygen. The pupils will learn that the wax in a candle is the fuel, and the matches provide the heat. The available oxygen in the air is used up during combustion, leading to the formation of carbon dioxide, which then extinguishes the flame. The lesson highlights that the process of combustion is irreversible and that the carbon dioxide produced does not return to its original form as wax.
Important Lesson Guidance
Safety is the top priority in this lesson. It is important that the teacher adheres to the guidance provided and that enough materials are available for the activities, including tealight candles and narrow-gauge iron wool.
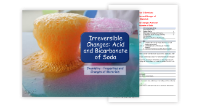
The main focus of this lesson is to explain that some changes result in the formation of new materials, which is not usually reversible. Students will learn about chemical reactions and the signs that indicate a reaction has occurred, such as the formation of gas, heat, or light. They will also learn to identify the products of chemical reactions. The class will also classify substances as acids, alkalis, or neutral based on their pH level, which is a measure of the ability of a substance to produce hydrogen in solution. The pH scale ranges from 1-14, with values below 7 being acidic, values above 7 being alkaline, and 7 being neutral.
This lesson is aligned with the previous learning in Year 1 to identify and name everyday materials and in Year 2 to find out how solid objects' shapes can be changed. The activity will involve using pH paper and a variety of substances such as cola, lemon juice, bicarbonate of soda, vinegar, and more to classify the substances as acid, alkali, or neutral. Students will work in groups of four and follow the steps of tearing off some of the pH paper and dipping it into the sample, observing the color change, and making a judgement of the pH level.
In the second activity, students will learn about neutralizing acids. They will measure out different amounts of vinegar and bicarbonate of soda, stir the mixture, and test the pH level until the paper turns green. They will repeat the process with different ratios of vinegar and bicarbonate of soda to understand the effect of adding more or less of either substance on the pH level.
Cross-Curricular Links
- DT: Research the role of acids in etching
- Maths: Produce graphs of experimental results
- History: Write an essay on the role of acids in the first battery made
Important Lesson Guidance
Before the lesson, the teacher will need to obtain some cola, bicarbonate of soda, and lemon juice. For the pH classification activity, the teacher has free reign on the substances tested, as long as they are safe for students to handle. The solid samples will need to be mixed with a small amount of water for testing. In the neutralizing acids activity, the equipment required includes clear plastic cups, vinegar, bicarbonate of soda, pH paper, teaspoons, and a measuring cylinder. The students will work in groups of two.
Influential Scientists
Soren Sorensen, Jons Berzelius, Humphrey Davey.
Keywords
Irreversible, Acid, Alkali, pH scale, Neutral, Carbon Dioxide, Neutralization.
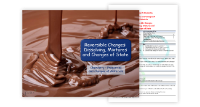
This lesson focuses on teaching pupils how to demonstrate that dissolving, mixing, and changes of state are reversible changes. They will learn how to compare and group everyday materials based on properties such as hardness, solubility, transparency, conductivity, and response to magnets. This lesson covers topics learned in previous years including states of matter, properties of everyday materials, and how to change the shape of solid objects.
The cross-curricular links include ICT, where pupils can research the contents of seawater, and Maths, where pupils can create graphs of their experimental results. Additionally, pupils can learn about the history of metalworking and the transition from Bronze to Iron Age. Some common misconceptions, such as pure orange juice being a pure substance and air being a single substance, will be corrected in this lesson.
Keywords
- Solute
- Solvent
- Solution
- Dissolving
- Soluble
- Insoluble
- Saturated
- Mixture
- Reversible
Influential Scientists
- Mary Maynard
- Daly
- Linus Pauling
- Rosalind Franklin
- Stephanie Kwolek
Important Lesson Guidance
Citric acid and bicarbonate of soda are needed for the activity and can be obtained from a local secondary school or online. Bicarbonate of soda can also be purchased from a local supermarket.
Activity: Making a Solution
In this activity, each pupil in the group will be given a clear plastic cup and a solid such as salt, sugar, sand, or soil. They will fill the cup with half water, add one teaspoon of the solid, and observe if the solid dissolves. The group will share their results and fill in the table to determine if the solid is soluble or insoluble.
Activity: Solubility of Solutes
In this activity, each pupil will have their own cup, solute (salt, bicarbonate of soda, granulated sugar, or citric acid), and a set of measuring cylinders. They will measure 30ml of water, add a flat teaspoon of the solute, and stir well. The pupils will observe the water to see if the solute has dissolved and repeat the process until the saturation point is reached. The pupils will record their results and rank the solubility of each solute.
The science behind this activity is explained by the solutes moving into the gaps between water particles when they dissolve. Once the spaces are filled, no more solute can dissolve and the saturation point is reached. The pupils will learn that the four solids being tested are solutes and the water is the solvent.
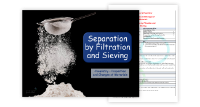
This lesson focuses on the concepts of solids, liquids, and gases and how they can be separated by filtration and sieving. The students will learn about forming solutions and recovering substances from them. The previous learning includes identifying everyday materials, changing shapes of solid objects, and states of matter, including evaporation and condensation. The cross-curricular links are with Maths and Geography and History. The influential scientists include Sir Francis Bacon, Hippocrates, and James Simpson. The lesson will include two activities: "Separating Mixtures by Sieving" and "Filter Paper Investigation."
Misconceptions and Corrections
- Misconception: Filtration is a modern invention. Correction: Humans had filtration systems thousands of years ago.
- Misconception: All mixtures are solutions. Correction: Solutions are formed when a solute is dissolved in a solvent, not all mixtures are produced through the process of dissolving.
Keywords
Solute, Solvent, Solution, Dissolving, Soluble, Insoluble, Filtration, Sieving, Separation.
Activity: Separating Mixtures by Sieving
Students will work in groups of 4 and use a colander and sieve to separate marbles, rice, and water. They will compare the similarities and differences of the two items in terms of material form, size of holes, etc. They will use the sieve to separate water from solids and the colander to separate rice from marbles. The separation will not be perfect and students will discuss ways to separate the items perfectly. The science behind the activity is explained, and possible questions are provided for the students to reflect on their learning.
Activity: Filter Paper Investigation
The students will work in groups of 4 and use filter paper, tea bags, coffee filters, and green food coloring to investigate filtration. They will measure 50ml of water with food coloring and use filter papers of different grades to filter the water. The time taken to filter the water will be recorded and compared. The students will also try using a tea bag and coffee filter. The activity provides hands-on experience with filtration and helps the students understand how filtration works and its applications.
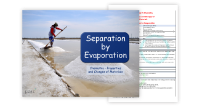
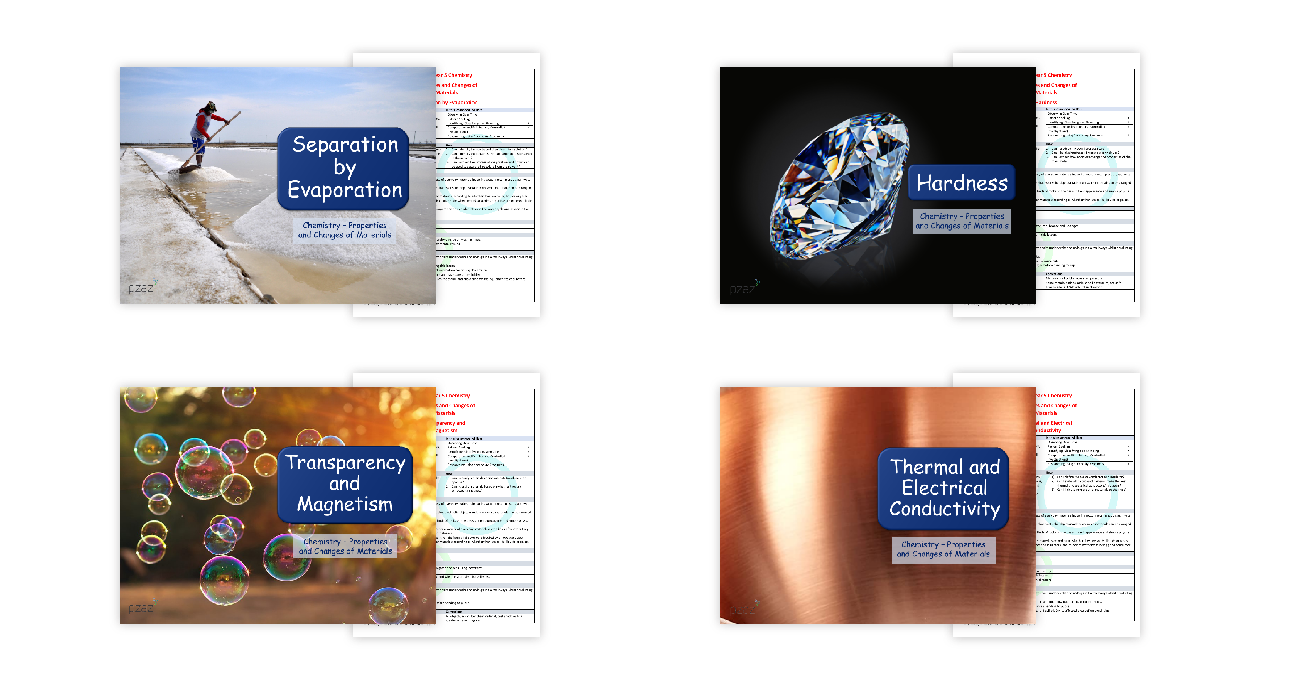
This lesson focuses on using knowledge of solids, liquids, and gases to separate mixtures through evaporation. Students will have previously learned about everyday materials and the states of matter in Year 1 and Year 4. The cross-curricular links to ICT and Maths are also noted, with pupils using research and calculations in their experiments. The lesson will address misconceptions related to evaporation, including that it turns the original liquid into a new substance, and that lots of heat is always required for evaporation to occur. Keywords, influential scientists, and important lesson guidance are also provided.
Activities
The lesson includes two activities: "Disappearing Water" and "Using Evaporation to Separate Solutes from Solvents." In the first activity, students will measure out 50mls of water into plastic cups, cover one cup with cling film, and observe the water loss over a week. In the second activity, students will use evaporation to separate salt from water. They will weigh a pie tin, add salt to it, measure 20mls of water and pour it into the tin, light a tealight and place it under the tin, and use a stopwatch to time how long it takes for the salt to fully dissolve.
Science Explained
The lesson explains that evaporation is a change of state from a liquid to a gas and that the heat or wind in the environment contributes to the rate of evaporation. Students will understand that water loss can be accounted for by evaporation and that the rate may be affected by factors such as airtightness and the environment.
Possible Questions
- Was there a difference between the cup with film and that without after 1 week?
- Where do you think the water went?
- Which location showed the greatest water loss? Why do you think this is?
- How long do you estimate it would take for the water to evaporate completely?
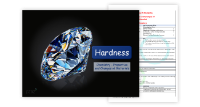
In this lesson, students will learn about hardness as a property of materials. The students will build on their previous learning about everyday materials from years 1-4. In year 1, students identified and named a variety of everyday materials, in year 2 they found out how shapes of solid objects can be changed, in year 3 they compared and grouped different rocks, and in year 4 they compared and grouped materials into solids, liquids, and gases. This lesson is not part of the Year 6 Chemistry curriculum. However, it is linked to cross-curricular subjects such as History, Design and Technology, and English.
The main activity in this lesson is to produce a report on the Mohs scale and classify items based on their hardness. Students will use the Mohs scale to identify minerals in the field and it goes from 1-10, with the higher number indicating a harder mineral. Talc is 1 on the scale and diamond is 10. In the materials classification activity, students will use their own scale to classify items based on their hardness and write descriptions of the properties of each material. Finally, in the activity on the hardness of materials, students will physically test the hardness of various materials using a glass slide, copper coin, paper clip, fingernail, and other materials. The properties of the materials studied will be linked to their use, such as rubber being stretchy (elastic), making it ideal for elastic bands.
Misconceptions and Keywords
The lesson will address common misconceptions such as all metals being solids at room temperature and all metals being hard. It will also introduce keywords such as hardness, Mohs Scale, mineral, flexible, elastic, stretchy, and brittle. Influential scientists such as Alexander Parkes, John Wesley Hyatt, Leo Baekeland, Eugen Bauman, Wallace Carothers, and Friedrich Mohs will also be mentioned in the lesson.
Important Lesson Guidance
There is flexibility in the materials that can be tested in this lesson and the results tables are just examples. It would be best if a wide range of materials is available for the students to test for hardness, including rocks. There is also much flexibility in terms of the size of the groups, with the recommended group size being 4 students. The students will use learning pads for the Mohs scale activity.
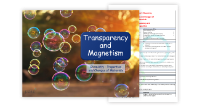
This lesson focuses on comparing and grouping everyday materials based on their properties of transparency and response to magnets. The objectives are to classify materials as transparent, translucent or opaque, and to classify materials based on whether they are attracted to magnets.
Previous Learning
The students have previously learned about everyday materials, the uses of everyday materials, rocks, forces and magnets, light, and states of matter. In Year 1, they have identified and named various everyday materials. In Year 2, they have found out how the shapes of solid objects can be changed by squashing, bending, twisting and stretching. In Year 3, they have compared and grouped rocks and everyday materials based on their appearance and physical properties and learned about light and shadows. In Year 4, they have compared and grouped materials based on whether they are solids, liquids, or gases.
Cross-Curricular Links
- History: Pupils could learn about ancient cultures navigating the seas using lodestone.
- DT: Pupils could learn about soda glass manufacturing.
- Art: Pupils could learn about the meaning of 'pentimento' and its impact on galleries.
Misconceptions and Corrections
- Transparent objects do not cast shadows - All objects, regardless of material, cast shadows to a greater or lesser degree.
- All metals are attracted to magnets - Only certain metals are attracted to magnets.
- All non-metals do not attract magnets - Liquid oxygen is attracted to magnets.
Important Lesson Guidance
The teacher is encouraged to provide a variety of materials for pupils to handle during the lesson.
Activity: Transparency Investigation
The students will work in groups of 4 and investigate the transparency of various materials using torches. They will hold the object up, note the material it is made of, and one student will stand on either side of the object. One student will hold the torch close to the object and turn it on, and the other student will observe if they can see all, some, or none of the light. They will repeat the process with various materials and use their results to classify the materials as transparent, translucent, or opaque. The goal is to obtain 20 results.
Science Explained
- Objects are either transparent, translucent, or opaque.
- Opaque objects reflect light.
- Different types of the same material can have varying transparency.
- Gases tend to be transparent.

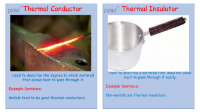
This lesson aims to help students compare and group everyday materials based on their electrical and thermal conductivity. The students will also be able to give reasons for the specific uses of materials like metals, wood, and plastic. By the end of the lesson, students should be able to define the terms conductor and insulator, state which types of materials make the best thermal and electrical conductors/insulators, and link the properties of materials to their use.
The lesson will cover a review of prior learning, including everyday materials, uses of materials, states of matter, and electricity. Cross-curricular links to history, design and technology, and mathematics will also be incorporated. The lesson aims to correct any misconceptions such as thinking all metals are good conductors of heat, and all non-metals are electrical insulators. Keywords for the lesson include conductor, insulator, thermal, heat, and deformed.
Influential scientists such as Benjamin Franklin, Prokop Divis, and Nikola Tesla will also be discussed. The lesson will include two main activities: Thermal Conductors and Insulators and Thermal Conduction. Equipment for the activities include wooden ruler, plastic ruler, aluminium foil, paper, cotton wool, ceramic mug, cardboard, stopwatch, plastic building blocks, plastic bag, ice, mug or hard plastic cup, metal teaspoon, plastic teaspoon, wooden teaspoon or small length of dowel, and warm water. The activities will involve touch tests, recording times for ice to melt, and ranking materials based on conduction.
The science behind the lesson will be explained, including heat moving from hot regions to cold regions, metals feeling the coldest to the touch, and why metals will melt ice first. Possible questions for the students include the differences between the touch of metals and non-metals, which will melt ice more quickly, and what type of materials make the best conductors.
Important Lesson Guidance
Teachers have the flexibility to choose a variety of materials for testing, but it is important to ensure a variety of materials for students to handle. The water used in the second activity should be safe enough for students to handle.
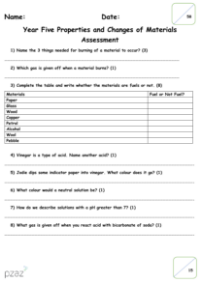
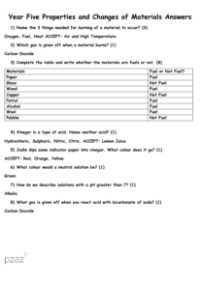


This lesson teaches pupils about the fire triangle and the importance of understanding the three elements that are needed to produce fire: heat, fuel, and oxygen. They will be introduced to the concept of combustion and how it leads to the formation of new materials. The pupils will then participate in a series of hands-on activities to reinforce their understanding of the fire triangle, including a report on the history of combustion and graphs of their experimental results.
Previous Learning
Prior to this lesson, pupils should have an understanding of the states of matter and have identified and named various everyday materials. In Year 4, they learned about the states of matter and observed how some materials change state when heated or cooled.
Keywords
- Fire
- Burning
- Combustion
- Oxygen
- Carbon dioxide
- Fuel
- Mass
Influential Scientists
- Antoine Lavoisier
- Marianne Lavoisier
- Henry Cavendish
- Joseph Priestley
- Carl Scheele
Activities
The Fire Triangle
Pupils will work in groups of two to produce a report on the three elements of the fire triangle. They will also draw the triangle as part of their report.
Fire Needs Oxygen (WS)
Pupils will work in groups of four to investigate the relationship between the size of a glass and the time a tealight can remain lit. They will record the results of their experiment in a table and observe the impact of the availability of oxygen on the combustion process.
What Happens to the Mass of the Candle When Lit? (WS)
Pupils will work in groups of four to measure the mass of a tealight before and after it has been lit. They will observe the impact of combustion on the mass of the candle and record their results in a table.
Science Explained
The lesson explains the process of combustion, including the role of fuel, heat, and oxygen. The pupils will learn that the wax in a candle is the fuel, and the matches provide the heat. The available oxygen in the air is used up during combustion, leading to the formation of carbon dioxide, which then extinguishes the flame. The lesson highlights that the process of combustion is irreversible and that the carbon dioxide produced does not return to its original form as wax.
Important Lesson Guidance
Safety is the top priority in this lesson. It is important that the teacher adheres to the guidance provided and that enough materials are available for the activities, including tealight candles and narrow-gauge iron wool.

The main focus of this lesson is to explain that some changes result in the formation of new materials, which is not usually reversible. Students will learn about chemical reactions and the signs that indicate a reaction has occurred, such as the formation of gas, heat, or light. They will also learn to identify the products of chemical reactions. The class will also classify substances as acids, alkalis, or neutral based on their pH level, which is a measure of the ability of a substance to produce hydrogen in solution. The pH scale ranges from 1-14, with values below 7 being acidic, values above 7 being alkaline, and 7 being neutral.
This lesson is aligned with the previous learning in Year 1 to identify and name everyday materials and in Year 2 to find out how solid objects' shapes can be changed. The activity will involve using pH paper and a variety of substances such as cola, lemon juice, bicarbonate of soda, vinegar, and more to classify the substances as acid, alkali, or neutral. Students will work in groups of four and follow the steps of tearing off some of the pH paper and dipping it into the sample, observing the color change, and making a judgement of the pH level.
In the second activity, students will learn about neutralizing acids. They will measure out different amounts of vinegar and bicarbonate of soda, stir the mixture, and test the pH level until the paper turns green. They will repeat the process with different ratios of vinegar and bicarbonate of soda to understand the effect of adding more or less of either substance on the pH level.
Cross-Curricular Links
- DT: Research the role of acids in etching
- Maths: Produce graphs of experimental results
- History: Write an essay on the role of acids in the first battery made
Important Lesson Guidance
Before the lesson, the teacher will need to obtain some cola, bicarbonate of soda, and lemon juice. For the pH classification activity, the teacher has free reign on the substances tested, as long as they are safe for students to handle. The solid samples will need to be mixed with a small amount of water for testing. In the neutralizing acids activity, the equipment required includes clear plastic cups, vinegar, bicarbonate of soda, pH paper, teaspoons, and a measuring cylinder. The students will work in groups of two.
Influential Scientists
Soren Sorensen, Jons Berzelius, Humphrey Davey.
Keywords
Irreversible, Acid, Alkali, pH scale, Neutral, Carbon Dioxide, Neutralization.

This lesson focuses on teaching pupils how to demonstrate that dissolving, mixing, and changes of state are reversible changes. They will learn how to compare and group everyday materials based on properties such as hardness, solubility, transparency, conductivity, and response to magnets. This lesson covers topics learned in previous years including states of matter, properties of everyday materials, and how to change the shape of solid objects.
The cross-curricular links include ICT, where pupils can research the contents of seawater, and Maths, where pupils can create graphs of their experimental results. Additionally, pupils can learn about the history of metalworking and the transition from Bronze to Iron Age. Some common misconceptions, such as pure orange juice being a pure substance and air being a single substance, will be corrected in this lesson.
Keywords
- Solute
- Solvent
- Solution
- Dissolving
- Soluble
- Insoluble
- Saturated
- Mixture
- Reversible
Influential Scientists
- Mary Maynard
- Daly
- Linus Pauling
- Rosalind Franklin
- Stephanie Kwolek
Important Lesson Guidance
Citric acid and bicarbonate of soda are needed for the activity and can be obtained from a local secondary school or online. Bicarbonate of soda can also be purchased from a local supermarket.
Activity: Making a Solution
In this activity, each pupil in the group will be given a clear plastic cup and a solid such as salt, sugar, sand, or soil. They will fill the cup with half water, add one teaspoon of the solid, and observe if the solid dissolves. The group will share their results and fill in the table to determine if the solid is soluble or insoluble.
Activity: Solubility of Solutes
In this activity, each pupil will have their own cup, solute (salt, bicarbonate of soda, granulated sugar, or citric acid), and a set of measuring cylinders. They will measure 30ml of water, add a flat teaspoon of the solute, and stir well. The pupils will observe the water to see if the solute has dissolved and repeat the process until the saturation point is reached. The pupils will record their results and rank the solubility of each solute.
The science behind this activity is explained by the solutes moving into the gaps between water particles when they dissolve. Once the spaces are filled, no more solute can dissolve and the saturation point is reached. The pupils will learn that the four solids being tested are solutes and the water is the solvent.

This lesson focuses on the concepts of solids, liquids, and gases and how they can be separated by filtration and sieving. The students will learn about forming solutions and recovering substances from them. The previous learning includes identifying everyday materials, changing shapes of solid objects, and states of matter, including evaporation and condensation. The cross-curricular links are with Maths and Geography and History. The influential scientists include Sir Francis Bacon, Hippocrates, and James Simpson. The lesson will include two activities: "Separating Mixtures by Sieving" and "Filter Paper Investigation."
Misconceptions and Corrections
- Misconception: Filtration is a modern invention. Correction: Humans had filtration systems thousands of years ago.
- Misconception: All mixtures are solutions. Correction: Solutions are formed when a solute is dissolved in a solvent, not all mixtures are produced through the process of dissolving.
Keywords
Solute, Solvent, Solution, Dissolving, Soluble, Insoluble, Filtration, Sieving, Separation.
Activity: Separating Mixtures by Sieving
Students will work in groups of 4 and use a colander and sieve to separate marbles, rice, and water. They will compare the similarities and differences of the two items in terms of material form, size of holes, etc. They will use the sieve to separate water from solids and the colander to separate rice from marbles. The separation will not be perfect and students will discuss ways to separate the items perfectly. The science behind the activity is explained, and possible questions are provided for the students to reflect on their learning.
Activity: Filter Paper Investigation
The students will work in groups of 4 and use filter paper, tea bags, coffee filters, and green food coloring to investigate filtration. They will measure 50ml of water with food coloring and use filter papers of different grades to filter the water. The time taken to filter the water will be recorded and compared. The students will also try using a tea bag and coffee filter. The activity provides hands-on experience with filtration and helps the students understand how filtration works and its applications.

This lesson focuses on using knowledge of solids, liquids, and gases to separate mixtures through evaporation. Students will have previously learned about everyday materials and the states of matter in Year 1 and Year 4. The cross-curricular links to ICT and Maths are also noted, with pupils using research and calculations in their experiments. The lesson will address misconceptions related to evaporation, including that it turns the original liquid into a new substance, and that lots of heat is always required for evaporation to occur. Keywords, influential scientists, and important lesson guidance are also provided.
Activities
The lesson includes two activities: "Disappearing Water" and "Using Evaporation to Separate Solutes from Solvents." In the first activity, students will measure out 50mls of water into plastic cups, cover one cup with cling film, and observe the water loss over a week. In the second activity, students will use evaporation to separate salt from water. They will weigh a pie tin, add salt to it, measure 20mls of water and pour it into the tin, light a tealight and place it under the tin, and use a stopwatch to time how long it takes for the salt to fully dissolve.
Science Explained
The lesson explains that evaporation is a change of state from a liquid to a gas and that the heat or wind in the environment contributes to the rate of evaporation. Students will understand that water loss can be accounted for by evaporation and that the rate may be affected by factors such as airtightness and the environment.
Possible Questions
- Was there a difference between the cup with film and that without after 1 week?
- Where do you think the water went?
- Which location showed the greatest water loss? Why do you think this is?
- How long do you estimate it would take for the water to evaporate completely?

In this lesson, students will learn about hardness as a property of materials. The students will build on their previous learning about everyday materials from years 1-4. In year 1, students identified and named a variety of everyday materials, in year 2 they found out how shapes of solid objects can be changed, in year 3 they compared and grouped different rocks, and in year 4 they compared and grouped materials into solids, liquids, and gases. This lesson is not part of the Year 6 Chemistry curriculum. However, it is linked to cross-curricular subjects such as History, Design and Technology, and English.
The main activity in this lesson is to produce a report on the Mohs scale and classify items based on their hardness. Students will use the Mohs scale to identify minerals in the field and it goes from 1-10, with the higher number indicating a harder mineral. Talc is 1 on the scale and diamond is 10. In the materials classification activity, students will use their own scale to classify items based on their hardness and write descriptions of the properties of each material. Finally, in the activity on the hardness of materials, students will physically test the hardness of various materials using a glass slide, copper coin, paper clip, fingernail, and other materials. The properties of the materials studied will be linked to their use, such as rubber being stretchy (elastic), making it ideal for elastic bands.
Misconceptions and Keywords
The lesson will address common misconceptions such as all metals being solids at room temperature and all metals being hard. It will also introduce keywords such as hardness, Mohs Scale, mineral, flexible, elastic, stretchy, and brittle. Influential scientists such as Alexander Parkes, John Wesley Hyatt, Leo Baekeland, Eugen Bauman, Wallace Carothers, and Friedrich Mohs will also be mentioned in the lesson.
Important Lesson Guidance
There is flexibility in the materials that can be tested in this lesson and the results tables are just examples. It would be best if a wide range of materials is available for the students to test for hardness, including rocks. There is also much flexibility in terms of the size of the groups, with the recommended group size being 4 students. The students will use learning pads for the Mohs scale activity.

This lesson focuses on comparing and grouping everyday materials based on their properties of transparency and response to magnets. The objectives are to classify materials as transparent, translucent or opaque, and to classify materials based on whether they are attracted to magnets.
Previous Learning
The students have previously learned about everyday materials, the uses of everyday materials, rocks, forces and magnets, light, and states of matter. In Year 1, they have identified and named various everyday materials. In Year 2, they have found out how the shapes of solid objects can be changed by squashing, bending, twisting and stretching. In Year 3, they have compared and grouped rocks and everyday materials based on their appearance and physical properties and learned about light and shadows. In Year 4, they have compared and grouped materials based on whether they are solids, liquids, or gases.
Cross-Curricular Links
- History: Pupils could learn about ancient cultures navigating the seas using lodestone.
- DT: Pupils could learn about soda glass manufacturing.
- Art: Pupils could learn about the meaning of 'pentimento' and its impact on galleries.
Misconceptions and Corrections
- Transparent objects do not cast shadows - All objects, regardless of material, cast shadows to a greater or lesser degree.
- All metals are attracted to magnets - Only certain metals are attracted to magnets.
- All non-metals do not attract magnets - Liquid oxygen is attracted to magnets.
Important Lesson Guidance
The teacher is encouraged to provide a variety of materials for pupils to handle during the lesson.
Activity: Transparency Investigation
The students will work in groups of 4 and investigate the transparency of various materials using torches. They will hold the object up, note the material it is made of, and one student will stand on either side of the object. One student will hold the torch close to the object and turn it on, and the other student will observe if they can see all, some, or none of the light. They will repeat the process with various materials and use their results to classify the materials as transparent, translucent, or opaque. The goal is to obtain 20 results.
Science Explained
- Objects are either transparent, translucent, or opaque.
- Opaque objects reflect light.
- Different types of the same material can have varying transparency.
- Gases tend to be transparent.

This lesson aims to help students compare and group everyday materials based on their electrical and thermal conductivity. The students will also be able to give reasons for the specific uses of materials like metals, wood, and plastic. By the end of the lesson, students should be able to define the terms conductor and insulator, state which types of materials make the best thermal and electrical conductors/insulators, and link the properties of materials to their use.
The lesson will cover a review of prior learning, including everyday materials, uses of materials, states of matter, and electricity. Cross-curricular links to history, design and technology, and mathematics will also be incorporated. The lesson aims to correct any misconceptions such as thinking all metals are good conductors of heat, and all non-metals are electrical insulators. Keywords for the lesson include conductor, insulator, thermal, heat, and deformed.
Influential scientists such as Benjamin Franklin, Prokop Divis, and Nikola Tesla will also be discussed. The lesson will include two main activities: Thermal Conductors and Insulators and Thermal Conduction. Equipment for the activities include wooden ruler, plastic ruler, aluminium foil, paper, cotton wool, ceramic mug, cardboard, stopwatch, plastic building blocks, plastic bag, ice, mug or hard plastic cup, metal teaspoon, plastic teaspoon, wooden teaspoon or small length of dowel, and warm water. The activities will involve touch tests, recording times for ice to melt, and ranking materials based on conduction.
The science behind the lesson will be explained, including heat moving from hot regions to cold regions, metals feeling the coldest to the touch, and why metals will melt ice first. Possible questions for the students include the differences between the touch of metals and non-metals, which will melt ice more quickly, and what type of materials make the best conductors.
Important Lesson Guidance
Teachers have the flexibility to choose a variety of materials for testing, but it is important to ensure a variety of materials for students to handle. The water used in the second activity should be safe enough for students to handle.


