Create a model of a mountain from a relief map - Investigation instructions
Geography Resource Description
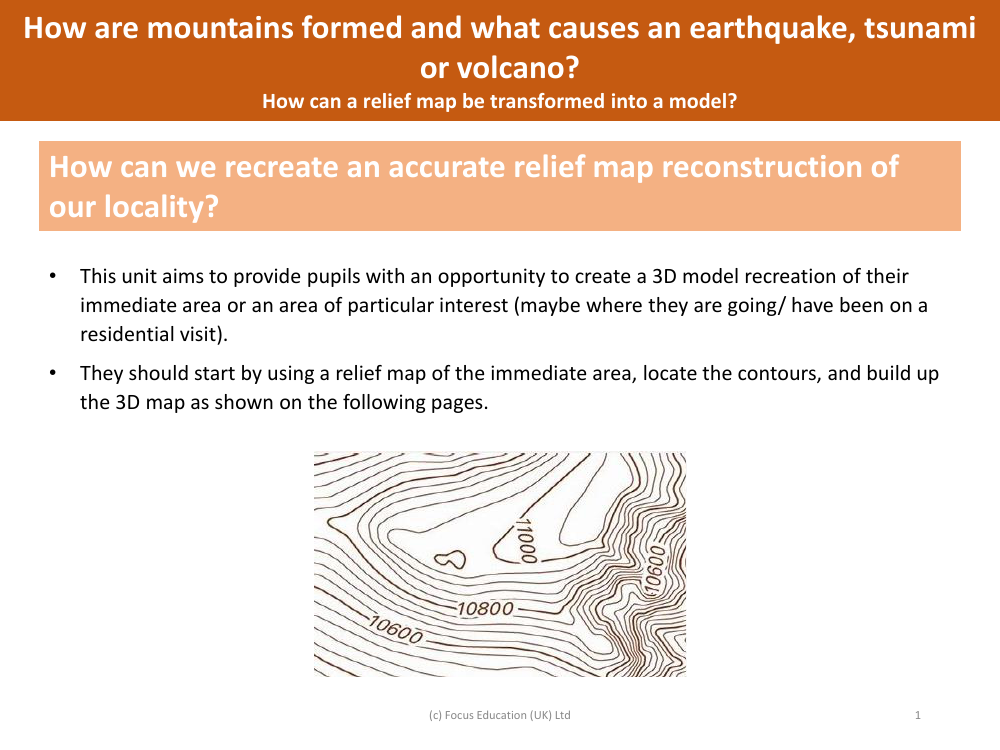
Creating a 3D model of a mountain from a relief map is a fascinating educational activity that provides pupils with a hands-on understanding of the topography of their local area or a region of interest. The project begins with pupils examining a relief map to identify the various contour lines that represent different elevations. They then use tracing paper to meticulously follow a specific contour line, such as the 500 ft elevation, marking it with a felt-tipped pen. This process is repeated for other significant elevation levels, each marked in a distinct colour for clarity. Once the contours are traced, pupils transfer these outlines onto card of uniform thickness, which will be used to gradually construct the 3D relief model layer by layer.
As the model takes shape, pupils have the option to further refine its appearance. They can either paint the card contours to visually represent different elevations and landscape features or apply plaster over the model to achieve a smoother, more realistic surface. This tactile approach to geography allows pupils to gain a deeper appreciation of the physical processes that shape our environment, such as the formation of mountains and the causes of natural disasters like earthquakes, tsunamis, and volcanic eruptions. The goal is to produce a detailed and accurate 3D model that not only represents the area's topography but also serves as a visual aid to understand these complex geological phenomena.